


 Seeds and Germination
 Grow Setup
 Seedling Stage
 Vegetative Growth
 Pre-flowering
 Flowering
 Ripening
 Harvesting
 Drying
 Curing
 Troubleshooting
 Training Techniques
Curing Cannabis for the Perfect Flavor and Potency
 15 Minute Read
PUBLISHED: August 9, 2024
Cannabis cultivation doesn’t end when the plants are harvested. One of the most critical steps that can make or break the final product is curing. This process involves allowing the harvested cannabis flowers to undergo a controlled drying and aging process, which enhances potency, flavor, smoothness, and overall quality. Proper curing separates high-quality, flavorful buds from mediocre, harsh ones. It is the secret sauce that can elevate good weed into great weed.
In this detailed guide, we’ll explore the ins and outs of curing cannabis, from the science behind it to step-by-step instructions on how to do it right.
Why is Curing Cannabis Important?
The curing process isn’t just about drying the buds; it is a method that allows the cannabis to continue maturing after harvest. During this stage, chemical reactions inside the plant material stabilize, leading to a more refined product. Let’s break down some of the main reasons why curing is essential:
- Improved Flavor: Proper curing preserves and enhances the natural terpenes in cannabis. These aromatic compounds are responsible for the plant’s unique flavors and smells. Without curing, cannabis can taste grassy or harsh, as chlorophyll and other compounds haven’t had time to break down.
- Increased Potency: Curing helps convert non-psychoactive compounds into more potent cannabinoids like THC. This results in a stronger, longer-lasting high.
- Smoother Smoke: Curing breaks down the remaining chlorophyll and sugars in the plant, reducing the harshness that would otherwise irritate the throat and lungs when smoked.
- Longer Shelf Life: Properly cured cannabis can be stored for longer periods without losing potency or flavor. Well-cured buds are less likely to mold or degrade quickly.
The Science Behind Curing
Curing cannabis is all about managing the degradation of chlorophyll, the preservation of terpenes, and the slow conversion of cannabinoids. When cannabis is dried too quickly, the chlorophyll inside the plant doesn’t have time to break down, which can leave behind an unpleasant taste. Additionally, volatile terpenes are lost at higher temperatures, and cannabinoids like THC and CBD don’t get the opportunity to reach their full potential.
During curing, the slow drying of cannabis in a controlled environment helps maintain a balance of humidity, allowing the plant’s natural enzymatic and chemical processes to continue working. This keeps terpenes intact and allows THC to develop fully.
The Curing Process: Step by Step
Now, let’s get into the practical side of curing cannabis. Here’s a complete breakdown of how to cure your harvest properly:
Step 1: Harvest at the Right Time
The curing process starts with harvesting at the optimal time. Cannabis plants should be harvested when the trichomes—those tiny, crystal-like glands that produce cannabinoids and terpenes—are at their peak. Trichomes change from clear to milky white and then to amber as they mature. For most strains, harvesting cannabis when the majority of trichomes are milky with some turning amber will provide the best balance of potency and flavor.
Step 2: Trim the Buds
After cutting down your plants, trimming is the next important step. There are two approaches: wet trimming and dry trimming.
Wet trimming involves removing the leaves immediately after harvest while the buds are still fresh.
Dry trimming involves hanging the entire plant to dry first and then trimming after the buds have dried.
Both methods work, though wet trimming allows for more precise cuts. However, some growers prefer dry trimming because it tends to result in a slower drying process, which can be beneficial for curing.
Step 3: Dry the Buds
Drying is the first phase of the curing process, and it’s essential to get this right. This step removes moisture from the buds, preparing them for long-term curing. The drying process should take around 7 to 10 days, depending on the environment.
- Temperature & Humidity: Aim for a temperature of 60-70°F (15-21°C) with humidity levels around 55-65%. Too hot or too dry, and the buds will dry out too quickly, which can trap chlorophyll and other compounds inside, resulting in harsh smoke. Too humid, and the buds might not dry properly, leading to mold or mildew.
- Drying Environment: Hang the trimmed buds upside down on drying racks or in a drying net, making sure there is enough space for air to circulate between them. Keep the room dark, as exposure to light can degrade THC.
The buds are ready for curing when the smaller stems snap instead of bending and the buds feel dry on the outside but still retain some moisture inside.
Step 4: Start the Curing Process
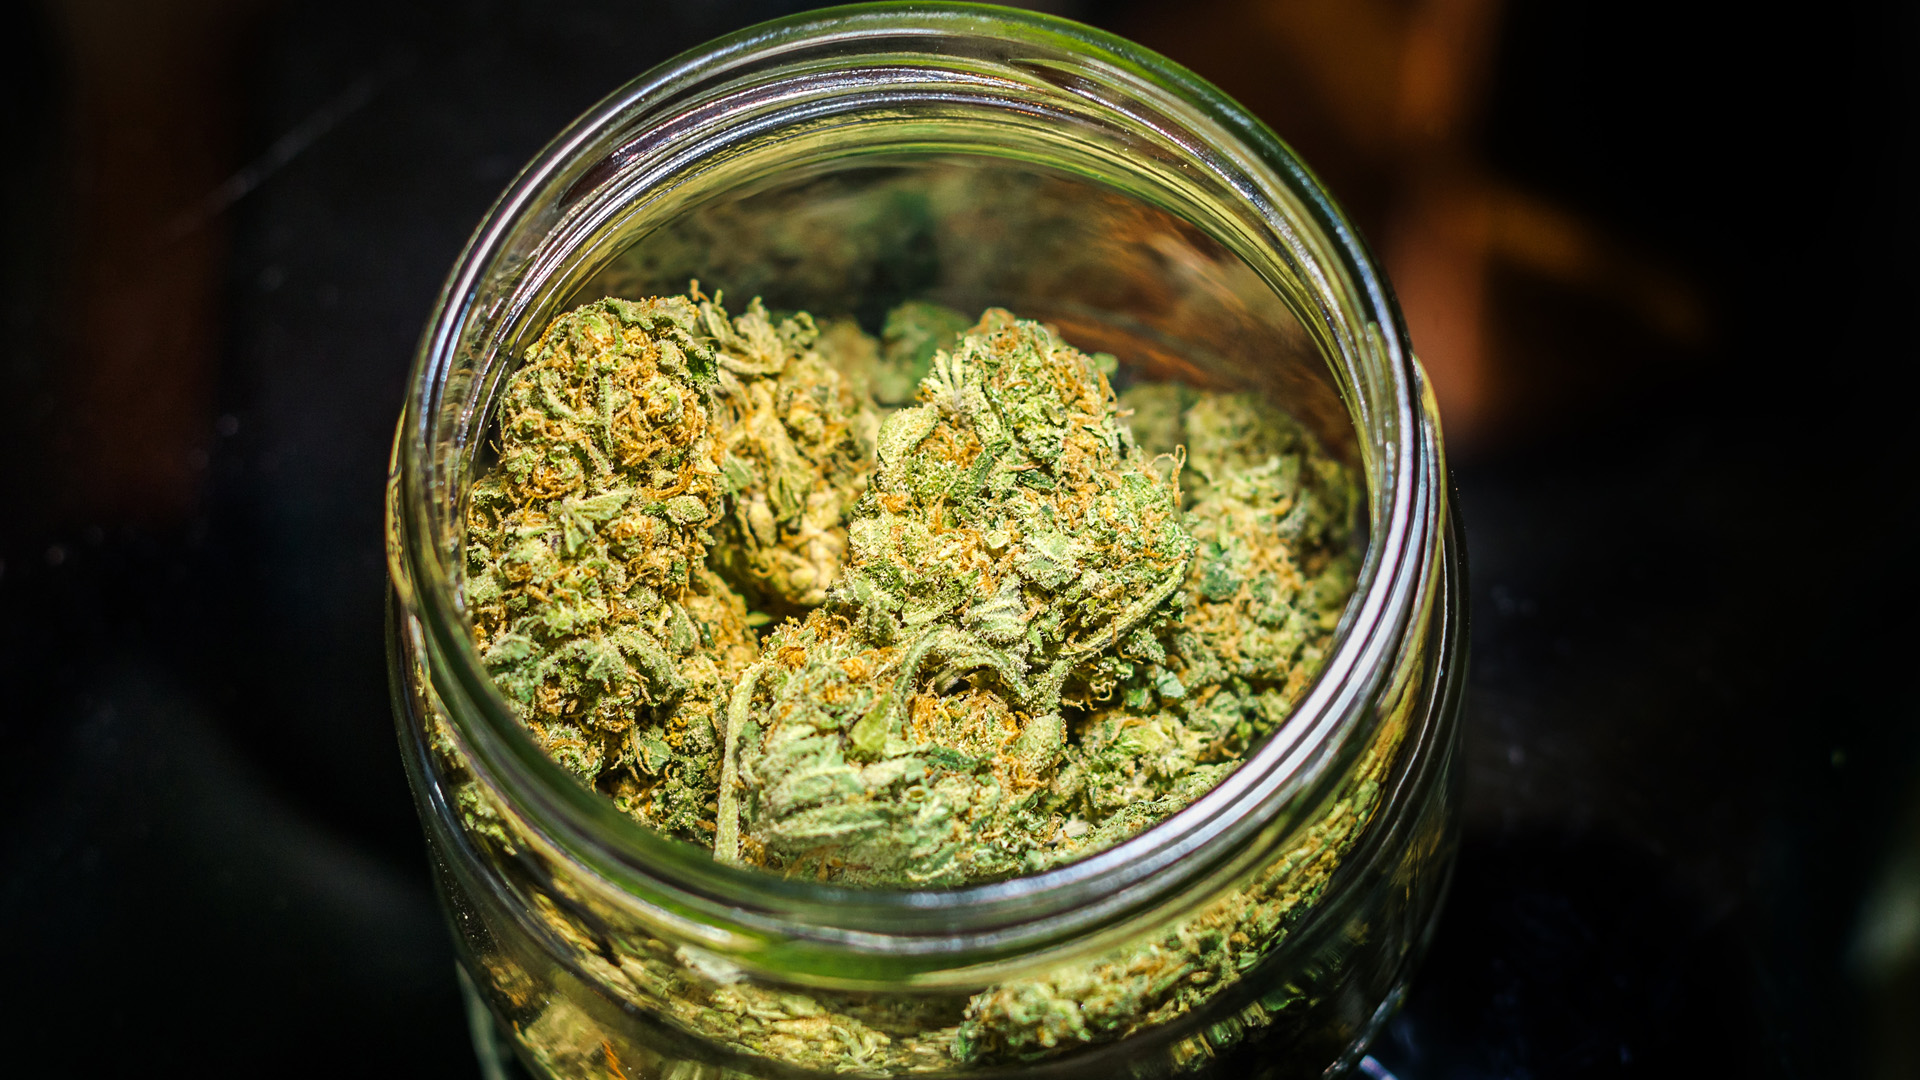
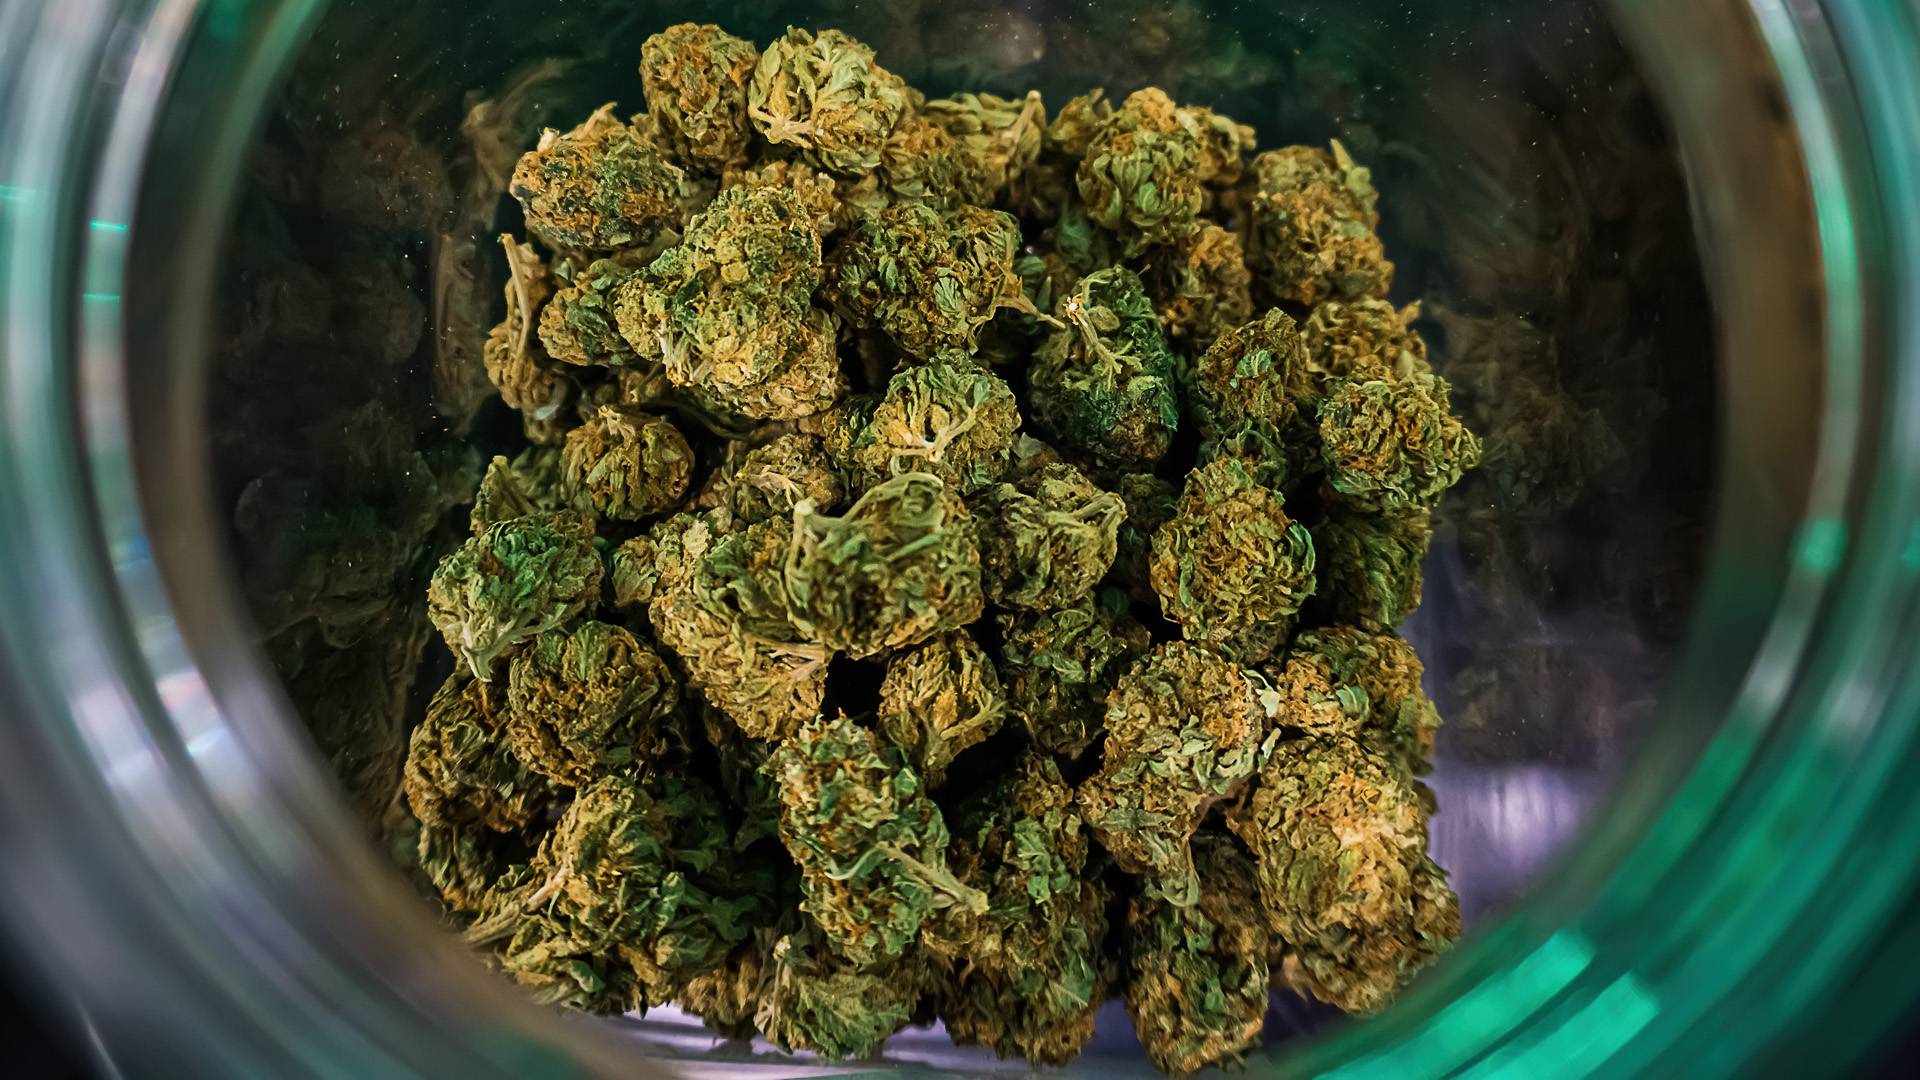
Once the buds have dried, the curing process begins. This involves placing the dried buds into airtight glass jars to slowly remove the remaining moisture over time while preserving terpenes and cannabinoids.
- Step-by-Step Jar Curing:
- Fill the Jars: Place the buds loosely in mason jars, filling them about 3/4 of the way to allow for some airflow. Avoid overpacking, as the buds need space to breathe.
- Store in a Cool, Dark Place: Store the jars in a dark, cool environment. Ideal temperatures should be around 65-70°F (18-21°C), with humidity levels at 60-65%.
- Burping the Jars: For the first 1-2 weeks, “burp” the jars once or twice a day. This means opening the jars for a few minutes to let out excess moisture and allow fresh air to circulate. As the weeks go by, you can reduce the frequency of burping to every few days, and eventually, once a week.
Step 5: Monitor the Curing Process
The curing process takes patience, but the rewards are well worth the effort. As the weeks pass, your buds will continue to mature, developing richer flavors and potency.
- Check for Mold: While curing, always keep an eye out for signs of mold, especially in the first two weeks when moisture is still leaving the buds. If you notice any mold, remove the affected buds immediately to prevent it from spreading.
- Ideal Cure Time: The curing process typically lasts anywhere from 2 to 8 weeks, with some connoisseurs curing for 6 months or more for the highest quality.
- Most growers find that after 2-4 weeks, the buds are well-cured, with significantly improved taste, potency, and smoothness.
Optimizing the Curing Environment
To achieve the best possible cure, controlling the environment is key. Here are a few tools and tips to optimize your curing setup:
- Hygrometers: Place small digital hygrometers in the jars to monitor the humidity levels. Ideally, the humidity inside the jars should be kept between 58-65%.
- Humidity Packs: Humidity packs like Boveda or Integra Boost can help maintain consistent humidity levels in the jars. These packs are especially useful if you live in a region with fluctuating humidity.
- Temperature Control: Keep your curing jars in a temperature-controlled environment, away from direct light or heat sources.
Troubleshooting Common Curing Issues
Here are some common problems that might arise during curing, and how to fix them:
- Buds Dried Too Quickly: If your buds dried too fast and are too brittle, curing can still help restore some moisture. Place a humidity pack in the jar to slowly reintroduce moisture to the buds.
- Overly Moist Buds: If the buds are still too wet after a week in the jar, leave the lids off for a few hours a day to help them dry out. Be careful not to leave the buds out too long, as this can dry them out too quickly.
- Mold Issues: If you detect mold, it’s often too late to save the affected buds. Remove them immediately and thoroughly check the remaining buds for signs of contamination.
The Role of Curing in Cannabis Quality
When executed properly, curing can dramatically improve the overall quality of your cannabis. It is during this phase that the distinctive aromas, flavors, and effects of the cannabis strain are fully developed. Curing also helps to lock in potency, ensuring that cannabinoids like THC and CBD remain stable over time.
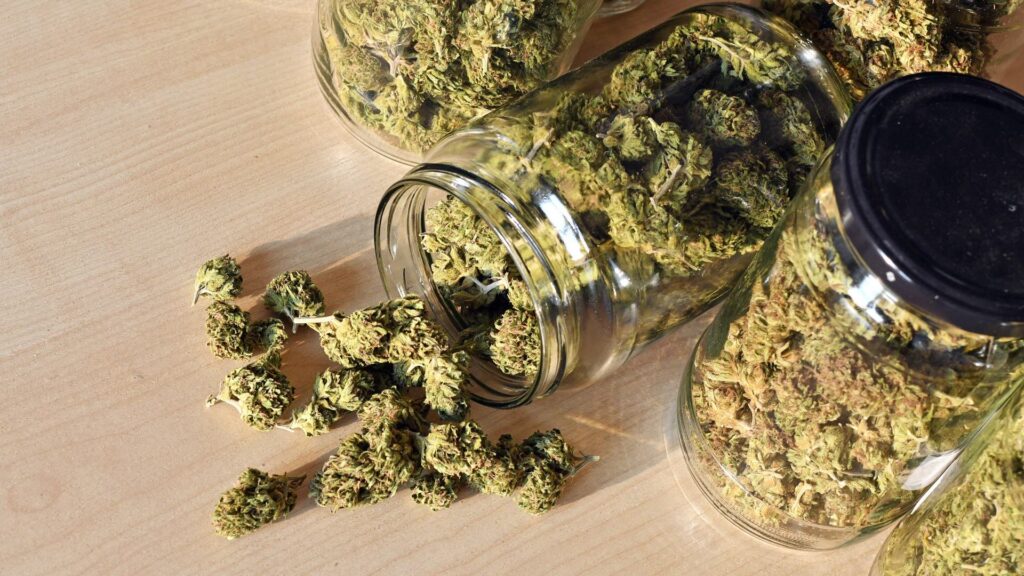
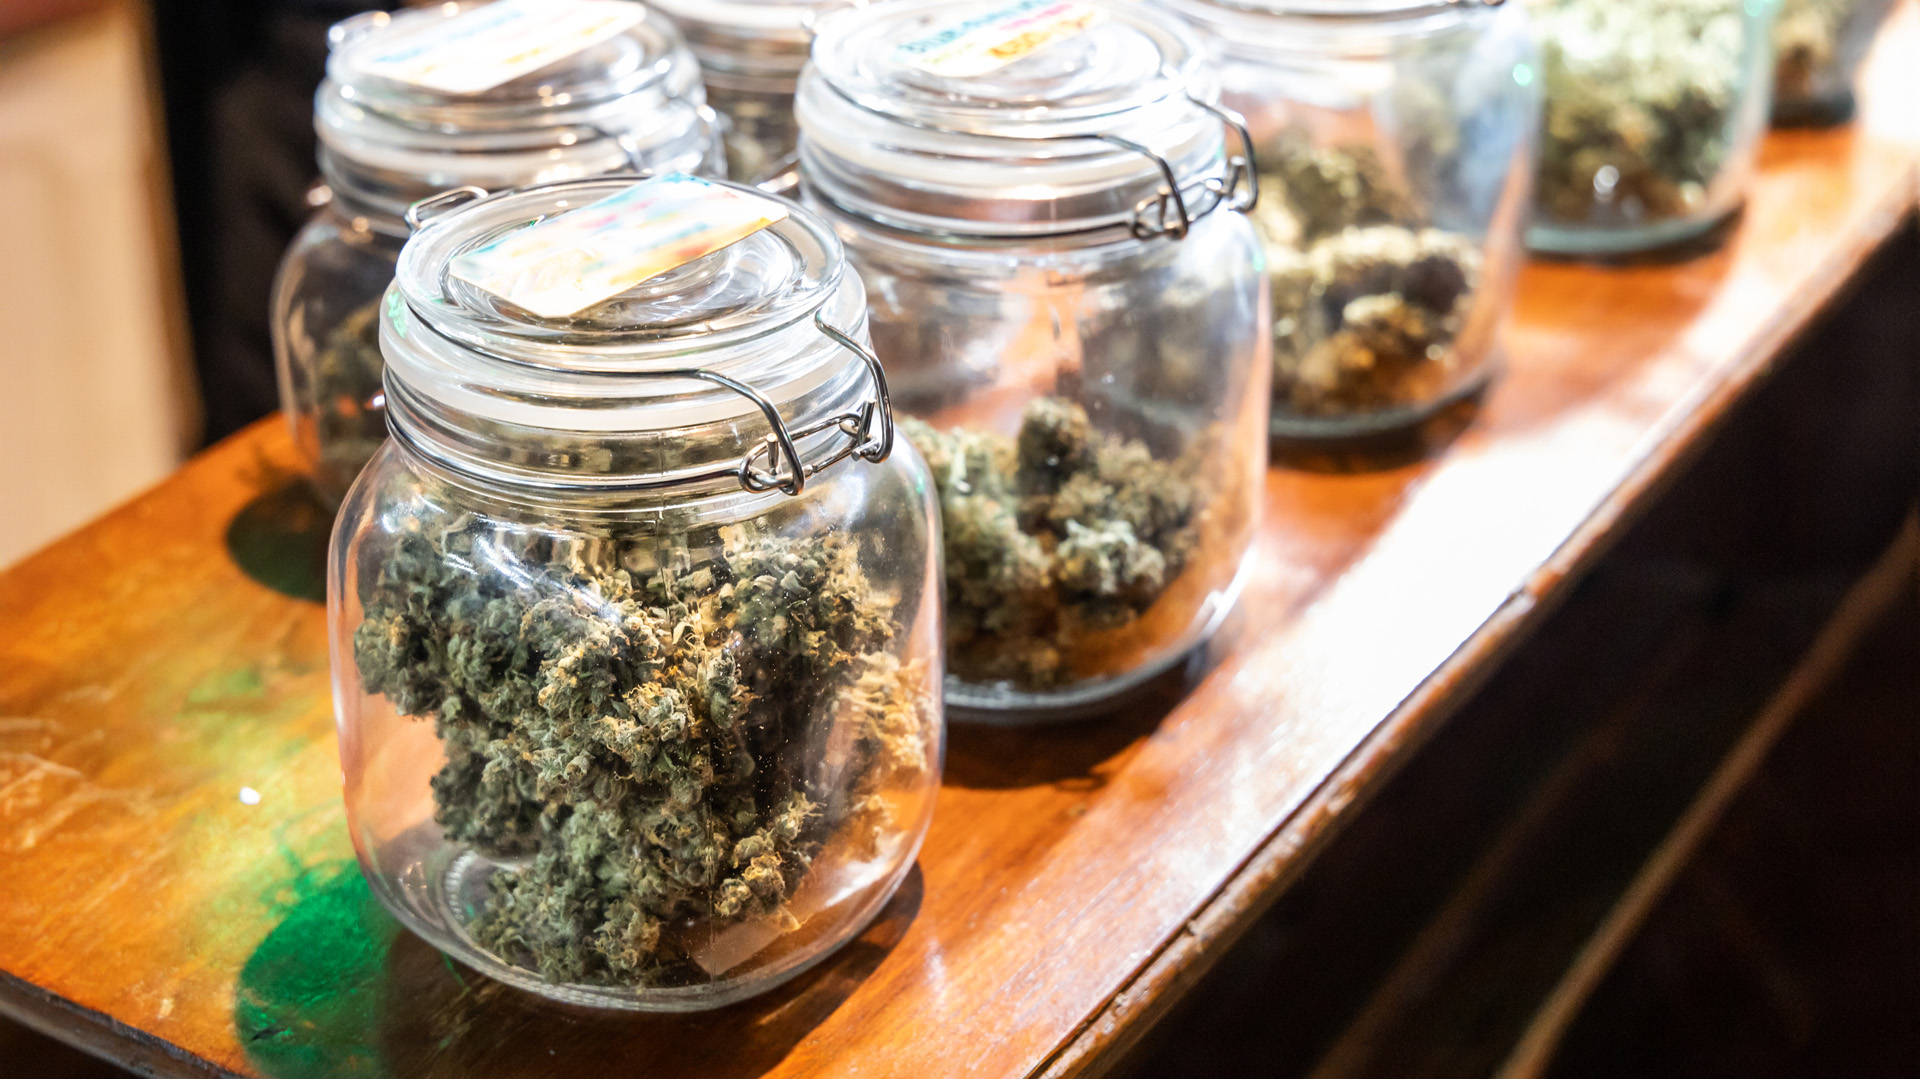
Dry and trimmed cannabis buds stored in a glas jars. Medical cannabis
- Flavor Enhancement: Terpenes, which are the compounds responsible for the aroma and flavor of cannabis, are sensitive to heat and light. Curing at low temperatures preserves these compounds, resulting in a more flavorful product.
- Potency: The slow breakdown of sugars and chlorophyll during curing also leads to a smoother and more potent final product. The harshness of improperly cured cannabis is often due to residual sugars and chlorophyll that haven’t had time to degrade.
Long-Term Storage of Cured Cannabis
Once your cannabis has been properly cured, it can be stored for extended periods without significant loss of potency or flavor. Here’s how to store your cured buds for the long term:
- Airtight Jars: Continue to store your cured cannabis in airtight glass jars. These should be kept in a cool, dark place to minimize exposure to light and heat, which can degrade cannabinoids and terpenes.
Refrigeration/Freezing: For long-term storage, some growers opt to store cannabis in the refrigerator or freezer. If you choose this method, ensure the jars are vacuum-sealed to prevent moisture from accumulating.
The Final Word on Cured Cannabis
Curing cannabis is a process that requires time, patience, and attention to detail. However, it’s a rewarding endeavor that pays off in terms of potency, flavor, smoothness, and overall enjoyment. Whether you’re a small-scale grower or cultivating cannabis on a larger scale, proper curing is the key to producing top-shelf buds that stand out in terms of quality. By following the steps outlined in this guide, you’ll be able to cure your cannabis to perfection and enjoy the best that your harvest has to offer.
Mike Titan, the founder of Titan Seeds, is a seasoned cannabis cultivator and the mastermind behind the comprehensive grow guide available on the Titan Seeds website.